Well - this is pretty darn cool.
Showing posts with label Tools. Show all posts
Showing posts with label Tools. Show all posts
Wednesday, August 22, 2018


Tuesday, January 10, 2017
Texture: Razor Tool
 This tool is the classic razor tool and is designed for glass. I'm sure you've all ready figured this one out.
But I was so taken with this cross hatch pattern that I thought I would immortalize it here.
Nothing tricky about this - work fast and have enough of a heat base that you can get the whole thing done in one pass.
Make the diagonal impressions in one direction, and then do the ones at ninety degrees.

Looks upholstered, or quilted. Quilted glass. Interesting concept.

Sunday, January 08, 2017
Texture: Leather Tool - Dimples
 Also not designed for glass - but works surprisingly well - tools for stamping leather.
  Even the cheaper leather tools work great. I thought they might lose their plating - but so far - they have been just rocking it.
Sunday, September 20, 2015
More on Cabochons
 Early in the year - I picked up this tool from CGBead Rollers. They had a booth, and I had an opportunity to buy some tools in person, which is fun, because you buy things you would never buy online.
In particular - they told me that it was an experimental item, a special request, and given that I don't see it on the website, if you want one too - you are also going to have to request one.
Anyway - as I mentioned a couple of days ago - I have been making cabochons, but keeping the back flat and stable is always the challenge. This - I thought to myself - could solve that little problem.

It has 3 slots, to accommodate the size of mandrel or punty that you are using.


But having used the Jelveh Cabochon maker - I suddenly had an idea. Why not use a marble mold to shape the FRONT of the cabochon (I had been using gravity, surface tension, the natural flow of the glass to make my dome shape) and use this for the back.

So with the marble mold (or in this case - a round bead mold) flat on the table, I pointed my molten gather of glass down into the cavity that best fit the glass I had melted, and rotating it a little and keeping it centred, pressed down the back with the slotted marver.


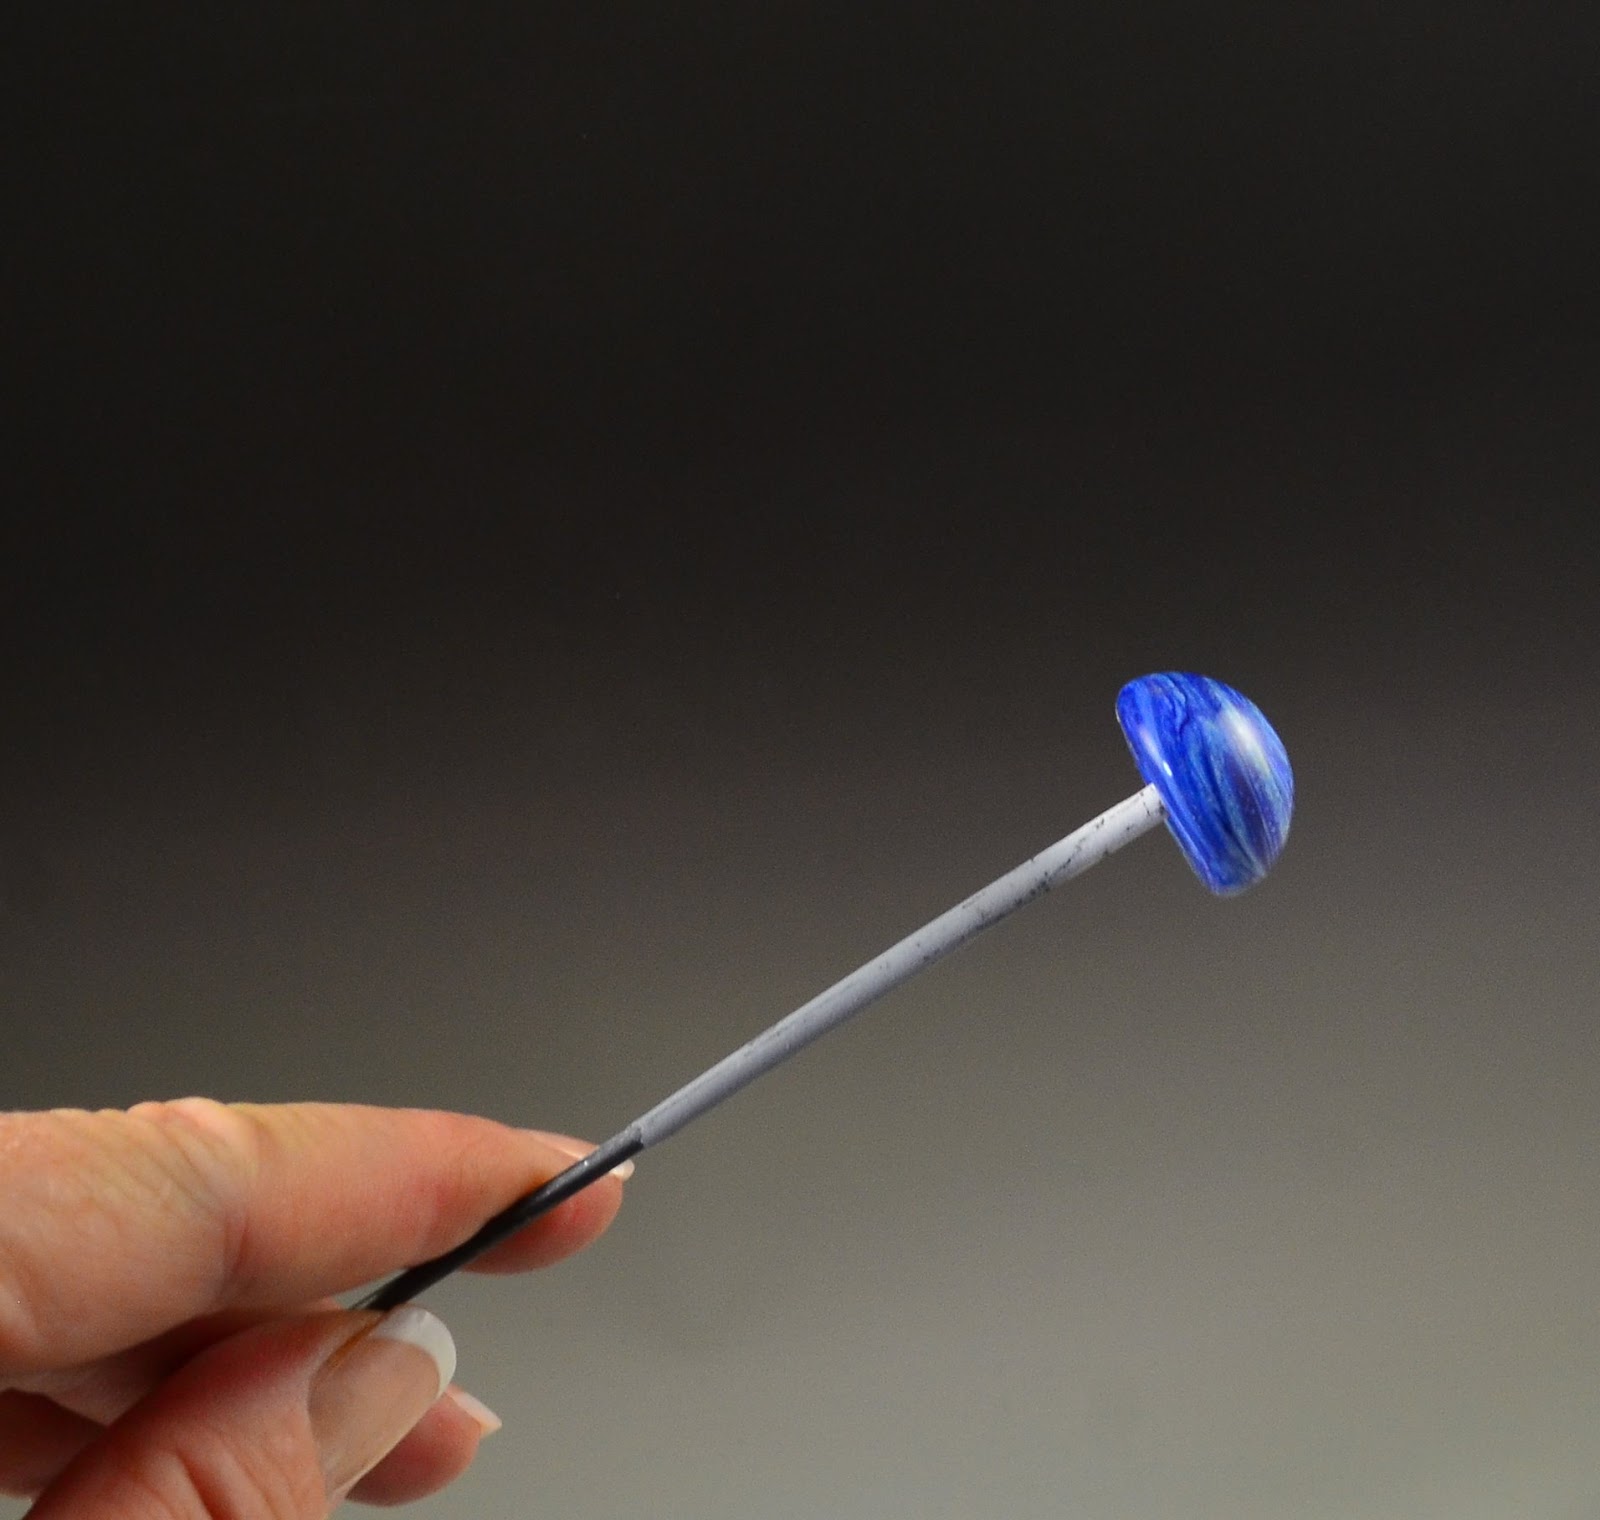
I'm quite excited about these - because these are a much deeper dome - I just find the more rounded shape more beautiful.

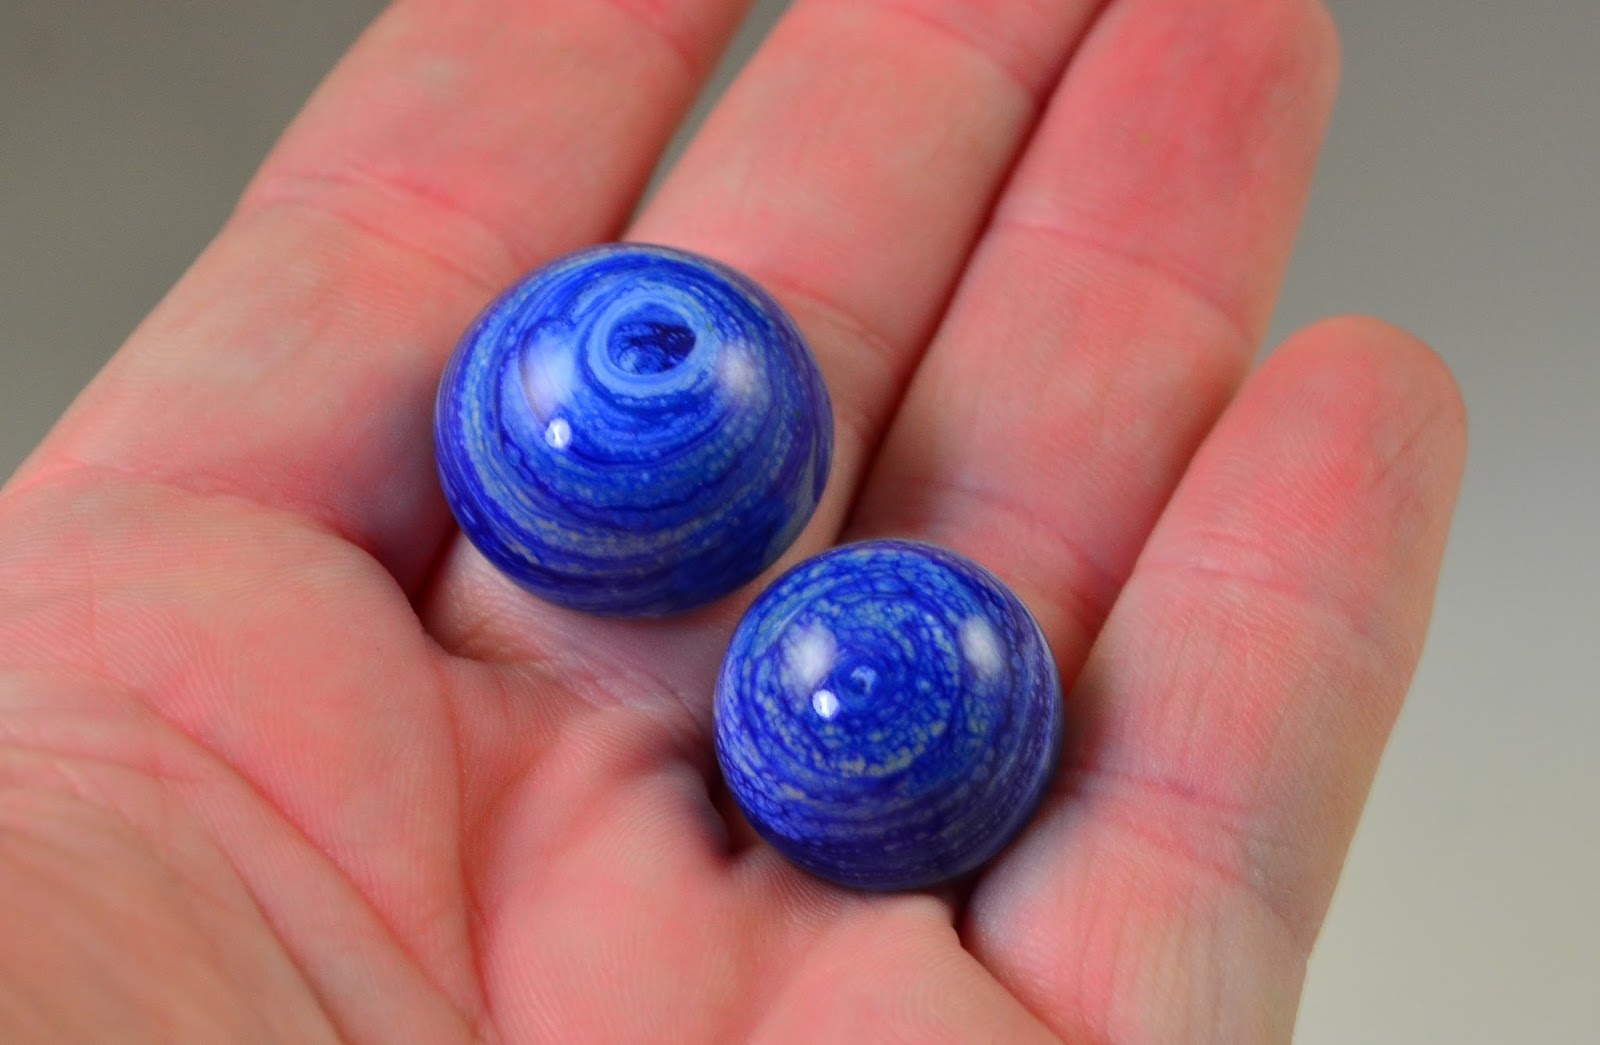
So woohoo! Inspired by the cabochon tool - but off in a new direction! Tres kewel!
Friday, September 18, 2015
Cabochons - Cabochon masher tool
 I picked up this cabochon mashing tool, Jelveh's Cabachon (sic) Maker - I was browsing Etsy - looking for something else entirely - of course.
I have been making cabochon-y type objects for awhile, and it is not hard to do, but keeping the back flat and stable can be a little frustrating. So when I saw this - it was - "I have to have that ..." .
When it arrived, I realized it was quite a bit smaller than I had anticipated - probably because I have a collection of Jim Moore's magnificent mashers - which are all very large. So that was pretty much what I had in my head.


It's function is to make cabochons on the end of a mandrel. Without the glass punty - you spend less time farting around separating them, and they are much thinner. (No reason you couldn't add a glass loop and turn them into pendants - just sayin'.)
On the left - Dark Fossil. On the right, random left-over high-silver twistie.

These two below are made on a loop of stainless steel wire, instead of a mandrel (I wanted the wire attached for use after.) These are a little irregular in shape - with the doubled wires on the back, they are a little harder to rotate smoothly.

Shots of the backs, two on wires, and two on mandrels.

It only took me a couple of cabs to realize that rotating the mandrel while gently mashing/shaping gave me better results - instead of having a ridge on the back (see left most and right most above) where the glass oozes through the mandrel access slot.

The metal is not brass as this photo appears to indicate - that's a reflection.

Better shot of the best one so far.


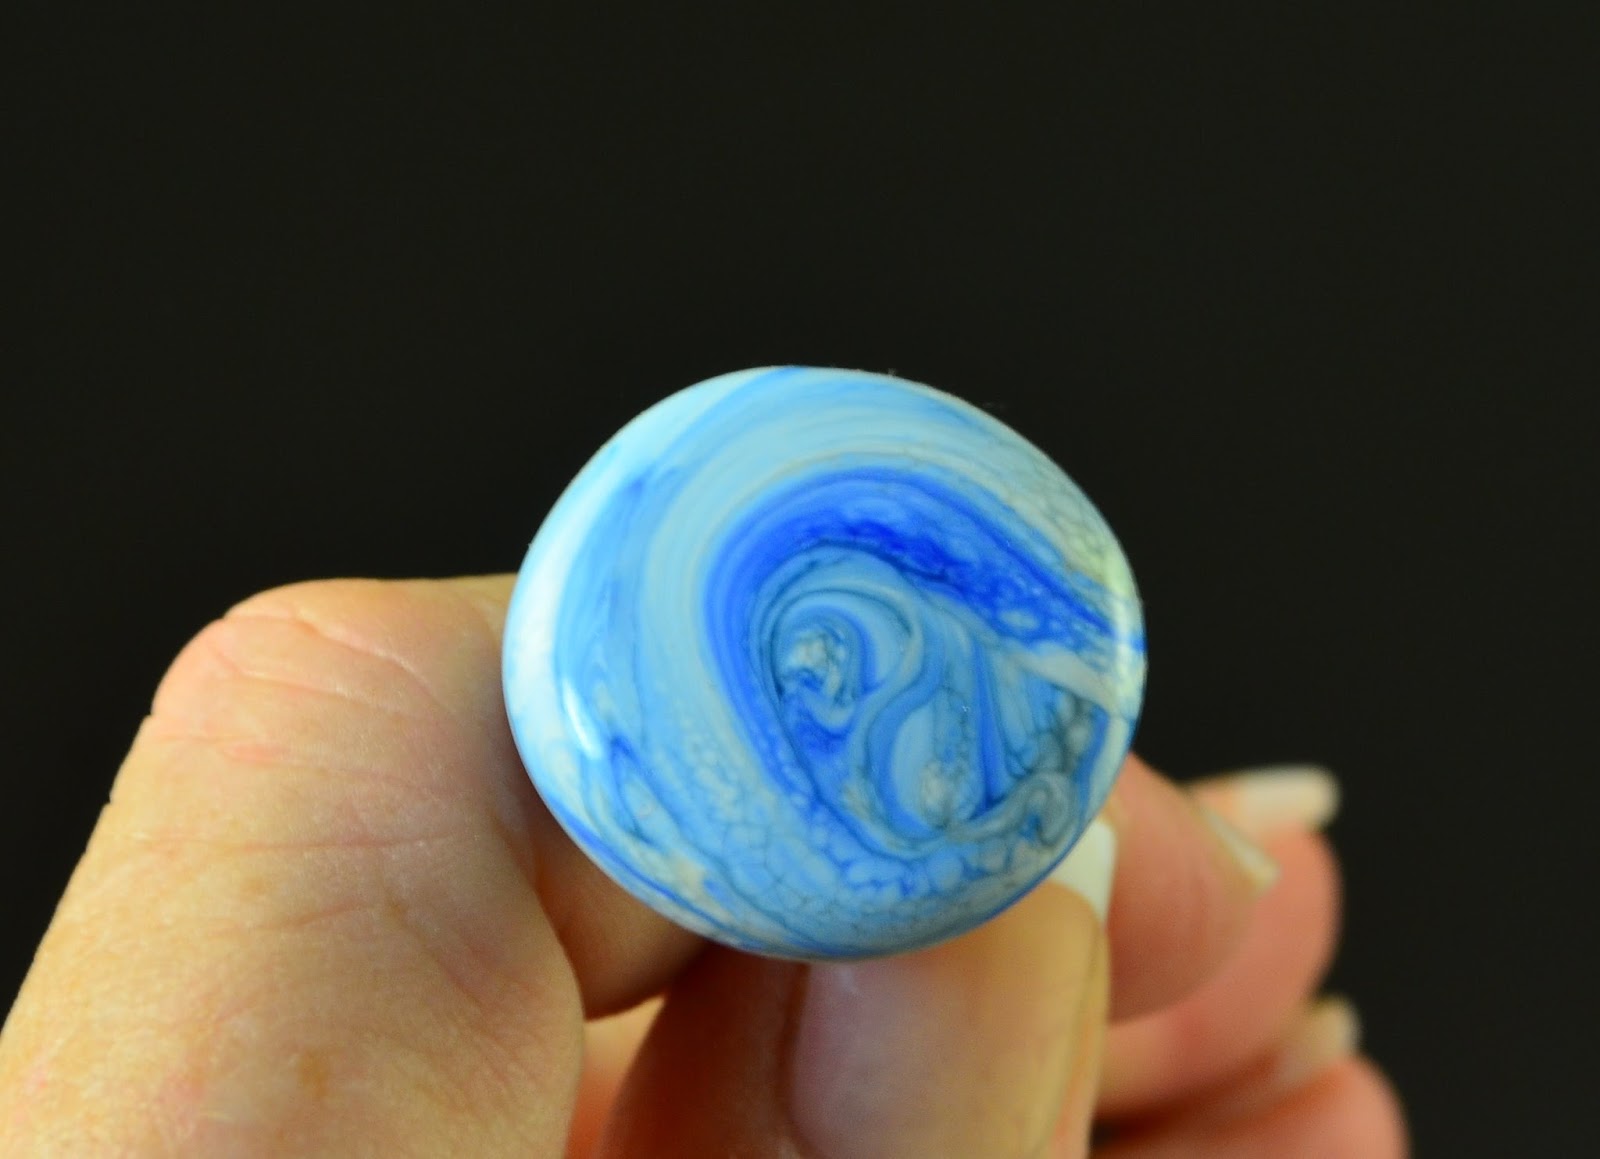

So, overall - I'm pretty happy with it. It's well made, the spring action in the handle is adequate, the two parts come together to be parallel at the point of closure - which is exactly where you would want it for this. The concave part is beautifully polished. Overall - this is a win.
I would probably still want a larger size if they had it, with a deeper cup. But that is just me. More is more!
Tool is available on Etsy here, or ask your favourite glass tool store if they can carry it.
Saturday, March 14, 2015
Frit ... Paddle? Tray? from CG Bead Rollers

 As you may know, I really like to be able to see the when the tool hits the bead, so to speak, so I really enjoyed making some frit beads with this. And if you've been reading my blog for any length of time, you know I am NOT a big frit person. Me and frit - not so much. However, this tool is pretty cool and it has the nice benefit that when you pick it up, you can give it a little shimmy and flatten the frit out to a nice, even layer.
Maybe that is why it was working well for me? Generally, my approach to frit is to use the tray as seen below, with the frit piled up in a huge drift.
Hmmm. Something to think about.

Sunday, March 08, 2015
Fun New Murrini Tools
While I was in Tucson - I stopped by the new Glass Artists Bead Show - there's a story there, but that's for a different post - anyway - CG Beads was there - the Bead Roller folks, so I stopped in to look.
Now I'm mostly too free-form for bead shaping roller type tools - and while I think they are fine - most of my presses migrated to the BeadFX studio for anyone to use there. However, when I saw these,
 I was ... oh - it's an optic mold. With a handle ... because ... and the gal running the booth finished my sentence - "optic molds get hot."
We actually repeated that about three times, like a mantra. Because - this is effing brilliant.

You can see here with a little bit more of an angle that there is a handle on the back. Hold the handle, plunge the glass in, and you are in no danger of trying to hold onto the hot mold - which is cool the first time you use it, and burn-inducing every time thereafter.
If you are still scratching your head on what it is, it's for making murrini. Get a blob (gather) of glass hot - plunge it into the hole, it takes on the shape of the hole, you then add colour around the outside, and stretch out into cane, and slice it up into murrini.
 See, nice, easy flower murrini.
 OK - next cool murrini tool - this murrini holder. Stand your murrini slices in the cavities so that they stay upright, don't fly away, roll away, etc.
Plus nice lentil or cabochon cavity up at the end.
 So now you can use the murrini you just made, without half of them flying away as you try to apply them to the bead.
Another brilliant tool.
So, two great tools for the murrini enthusiasts, or those that might want to be. ;-)

Now I'm mostly too free-form for bead shaping roller type tools - and while I think they are fine - most of my presses migrated to the BeadFX studio for anyone to use there. However, when I saw these,
We actually repeated that about three times, like a mantra. Because - this is effing brilliant.
You can see here with a little bit more of an angle that there is a handle on the back. Hold the handle, plunge the glass in, and you are in no danger of trying to hold onto the hot mold - which is cool the first time you use it, and burn-inducing every time thereafter.
If you are still scratching your head on what it is, it's for making murrini. Get a blob (gather) of glass hot - plunge it into the hole, it takes on the shape of the hole, you then add colour around the outside, and stretch out into cane, and slice it up into murrini.
See, nice, easy flower murrini. OK - next cool murrini tool - this murrini holder. Stand your murrini slices in the cavities so that they stay upright, don't fly away, roll away, etc. Plus nice lentil or cabochon cavity up at the end.
So now you can use the murrini you just made, without half of them flying away as you try to apply them to the bead. Another brilliant tool.
So, two great tools for the murrini enthusiasts, or those that might want to be. ;-)
There is, btw, a nice little description of how to use the cross shape mold (above) on the CG Beads page.
Thursday, June 06, 2013
Leaf Masher - Finally figured it out.
 Here's another tool that I've had kicking around for years - and I finally figured out what to do with it. A shout out goes to Deb M - I'm pretty sure I stole this idea from you - although that's not what I thought at the time! Naturally.
You saw the bell flower bead press flowers? Well - similar idea. Stainless steel wire, ball of hot glass, mash.
Instant leaf!

Some people are making these as headpins, but you know, when I make them, they are more like "as-big-as-my-head pins."

I actually wore one of the flowers and one of the leaves in my hair. Just poked the wire into my updo, and they stayed there all day. Kind of cute, I thought.


This is the wire I used. I have since experimented and found that the smaller gauges work very well too.

Thursday, May 30, 2013
Flower Press: Part 2
 Apparently - I should not speculate that something is a one-trick pony, because, dammit - it makes me go out and look for other uses.
What else could a Bell Flower be? How about a fairy skirt?
(Excuse the photos - I washed my photo cube today and it's still not set up again.)
This lil' gal is a 3 bead person. The skirt is a bell flower headpin - the torso is it's own bead - strung on the headpin, and the head is also it's own bead.
I think she's pretty adorable. And I don't normally "do" adorable. ;-)

Sunday, May 19, 2013
Fabulous New Toy: Carlo Dona Bead Press
Not getting as much torch time in as I would like, but here is a little indulgence I got myself.
Ta da!


It is a flower press. A Carlo Dona flower press. Like all Carlo Dona tools, it is ridiculously well made, and ridiculously expensive. Expensive enough to make you feel like you really have to justify it. It's rather like buying a sports car. You have to come up with the damnedest reasons to justify it.
 But it's sooooo beautiful. And it does what it is designed to do, beautifully.

It is something of a one-trick pony - it makes flowers on the end of wire. That's it. A flower on a wire. At least until I think of some other creative way to use it. But it does it so well. Who would belittle a pony for having only one trick? It's like the story of the talking dog - "He ain't so special, he never did any of those things ... ."

In a nutshell, you get a blob of glass on the end of stainless steel wire (I've been using 18 gauge stainless steel wire made by Artistic Wire)
 The press has a slit in the side, and hole at the bottom of the cup. Hang your molten gather of glass downward, slip it into the slot, with the wire emerging from the now-at-the-top hole, and press the
 inner part of the press into the outer shell.
 Et voila! A little firepolish - whack in a stamen, and you're good to go.
 Rolling the gather of glass in frit (before pressing) is a super nice effect too. Woohoo - finally - a use for all that frit!
If that description doesn't help - try checking out Loribeads video on youtube. I find I have better luck keeping the flower from being lop-sided by hanging the drop down, raising the whole thing up, and peering up to check that it is centred.
This is the largest size I could find - the 6 petal press. You know me - go big or go home!
Anyhoo - spring flowers! Woohoo!
Because I know you will ask - I got it here:
BeadPress.com - Easy to order, easy to pay, shipping was fast and it came extremely well packaged. No fuss, no muss. Very satisfied.
Ta da!

What is it, you ask? Well - it makes these:


It is a flower press. A Carlo Dona flower press. Like all Carlo Dona tools, it is ridiculously well made, and ridiculously expensive. Expensive enough to make you feel like you really have to justify it. It's rather like buying a sports car. You have to come up with the damnedest reasons to justify it.


It is something of a one-trick pony - it makes flowers on the end of wire. That's it. A flower on a wire. At least until I think of some other creative way to use it. But it does it so well. Who would belittle a pony for having only one trick? It's like the story of the talking dog - "He ain't so special, he never did any of those things ... ."

In a nutshell, you get a blob of glass on the end of stainless steel wire (I've been using 18 gauge stainless steel wire made by Artistic Wire)


If that description doesn't help - try checking out Loribeads video on youtube. I find I have better luck keeping the flower from being lop-sided by hanging the drop down, raising the whole thing up, and peering up to check that it is centred.
This is the largest size I could find - the 6 petal press. You know me - go big or go home!
Anyhoo - spring flowers! Woohoo!
Because I know you will ask - I got it here:
BeadPress.com - Easy to order, easy to pay, shipping was fast and it came extremely well packaged. No fuss, no muss. Very satisfied.
Subscribe to:
Posts (Atom)